How to Customize Position of Qiscus Widget?
Since 4 September 2025, Qiscus has released Live Chat Widget 2.0, a faster, more flexible, and fully customizable way to engage with your customers online.
What’s New
A more modern live chat design
A new Integration page to help users stay focused
A real-time builder with instant preview while customizing
A unified color scheme setting (no need to adjust colors one by one)
If you’d like to change where the widget appears on your website (for example, move it from the right side to the left), you can follow these simple steps:
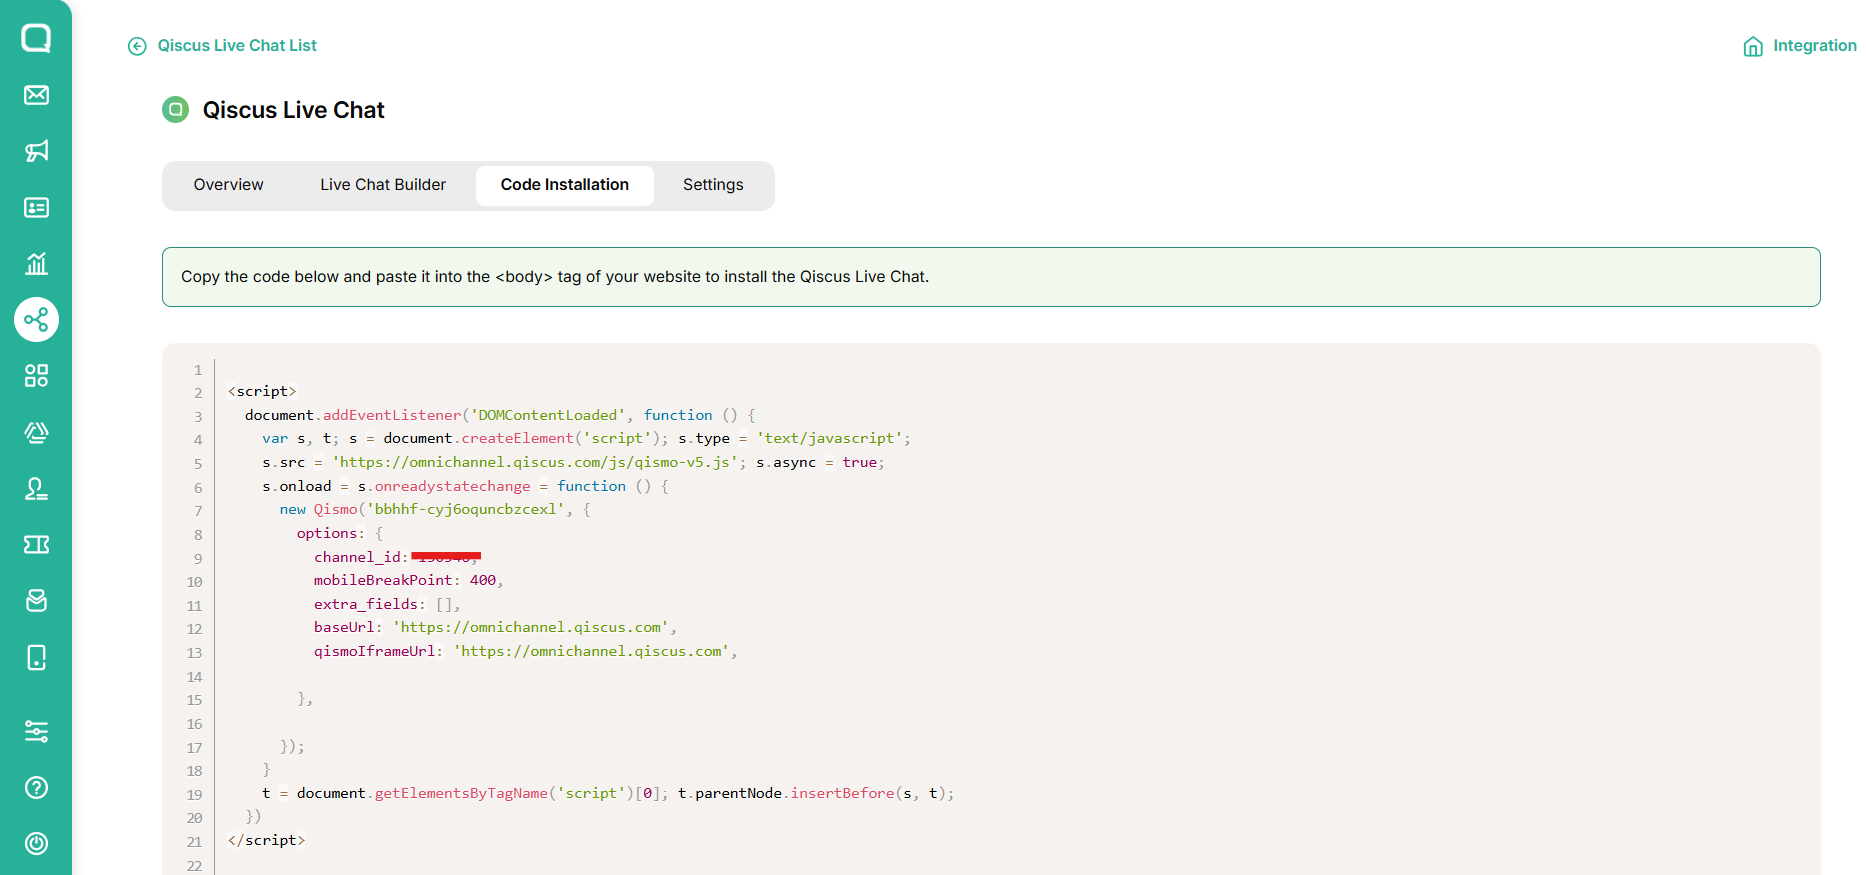
Copy the Widget Code
Go to your Code Snippet section in the Qiscus Dashboard, then copy and paste the widget code into your website.
Next, add the following CSS code inside your website’s
<head>...</head>section to modify the widget’s position:
<style>

  .qcw-widget-container {
    right: auto !important;
    left: 20px !important; /* atur jarak dari kiri sesuai kebutuhan */
  }

  .qcw-trigger-btn {
    right: auto !important;
    left: 20px !important; /* atur jarak dari kiri sesuai kebutuhan */
  }

  iframe#qcw-iframe,
  iframe#qcw-welcome-iframe,
  iframe#qcw-login-form-iframe {
  bottom: 60px !important;
  left: 20px !important;
}

</style>
3. Insert the Widget Script
Place the script below inside your website’s <body> tag, ideally near the end of the page so it loads after all other elements:
<script>
 document.addEventListener('DOMContentLoaded', function() {
 var s,t; s = document.createElement('script'); s.type = 'text/javascript';
 s.src = 'https://s3-ap-southeast-1.amazonaws.com/qiscus-sdk/public/qismo/qismo-v2.js'; s.async = true;
 s.onload = s.onreadystatechange = function() { new Qismo("your-app-id"); }
 t = document.getElementsByTagName('script')[0]; t.parentNode.insertBefore(s, t);
 });
</script>
Before (Default Widget Position):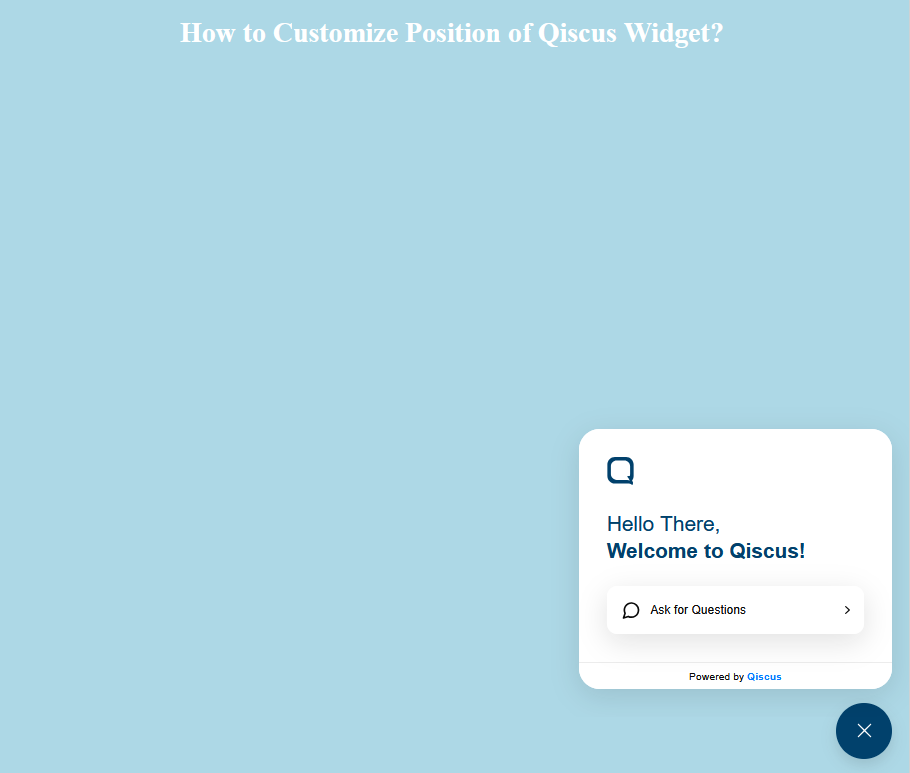
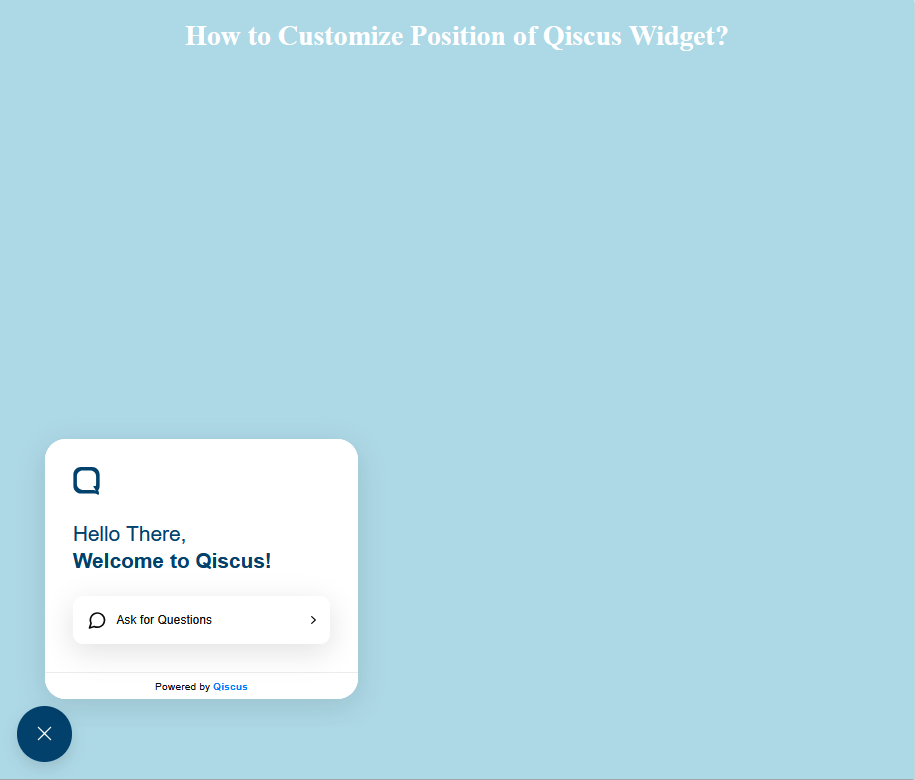
After Adding Custom CSS (Widget on the Left Side):
What About the Old Live Chat?
If you’re still on the old widget, don’t worry, it continues to work without disruption. But to enjoy the new features, simply click Update in the pop-up and replace your existing installation code with the new one.
For details, please check: