How can I integrate Slack with Qiscus Omnichannel?
Use Case
In the following article we will try to answer the question on how can I integrate Slack with Qiscus Omnichannel?
The rule is that if an application has a Public API that we can access, we can integrate the application into the Qiscus Omnichannel through a feature called Custom Channel.
Custom Channel
The idea behind this custom channel is that you provide your own server to be hooked by messaging services (Telegram, Slack, WeChat, Email, SMS, etc) to send a message. The message then will be passed to Qiscus Omnichannel Chat by your server to be sent to Qiscus Omnichannel Chat dashboard.
To implement this custom channel, here are some steps to follow. First, prepare your custom channel webhook server. It will depend on what service you are integrating with Qiscus Omnichannel Chat. But generally, the following scenario will go through within your custom channel.
- Your server will receive webhook from other service or your other messaging services.
- When your server receive the message, your server need to post the message to Qiscus Omnichannel Chat with the following format.
Create a Custom Channel
To create a custom channel you can go to the Integration > Custom Channel page then click the Add Custom Channel button.

In the Custom Channel addition form you can add an Identifier Key which will later be used as a unique marker in sending messages from Slack to Qiscus Omnichannel. Use a unique secret key.
At the bottom of the form there is a Webhook URL where you can enter the address of your webhook server. In this article, we will use a 3rd party service such as https://glitch.com to fill in the webhook address.

Create the Custom Channel Webhook
Before making the webhook, there are several things that we must prepare first. Like the creation of the Slack App, and the server that we will use for the webhook. Here we will use `glitch` as the hosting server.
Setting App Slack App
To get started, you'll need to create a new Slack app. Go to this page. Fill out your App Name and select the Development Workspace where you'll play around and build your app.

Slack apps use OAuth to manage access to Slack’s APIs. When an app is installed, you’ll receive a token that the app can use to call API methods.
There are three main token types available to a Slack app: user (xoxp), bot (xoxb), and app-level (xapp) tokens.
- User tokens allow you to call API methods on behalf of users after they install or authenticate the app. There may be several user tokens for a single workspace.
- Bot tokens are associated with bot users, and are only granted once in a workspace where someone installs the app. The bot token your app uses will be the same no matter which user performed the installation. Bot tokens are the token type that most apps use.
- App-level tokens represent your app across organizations, including installations by all individual users on all workspaces in a given organization and are commonly used for creating WebSocket connections to your app.
We’re going to use bot and app-level tokens for this guide.
Navigate to the OAuth & Permissions on the left sidebar and scroll down to the Bot Token Scopes section. Click Add an OAuth Scope.
For now, we’ll just add one scope:
chat:write. This grants your app the permission to post messages in channels it’s a member of.Scroll up to the top of the OAuth & Permissions page and click Install App to Workspace. You’ll be led through Slack’s OAuth UI, where you should allow your app to be installed to your development workspace.
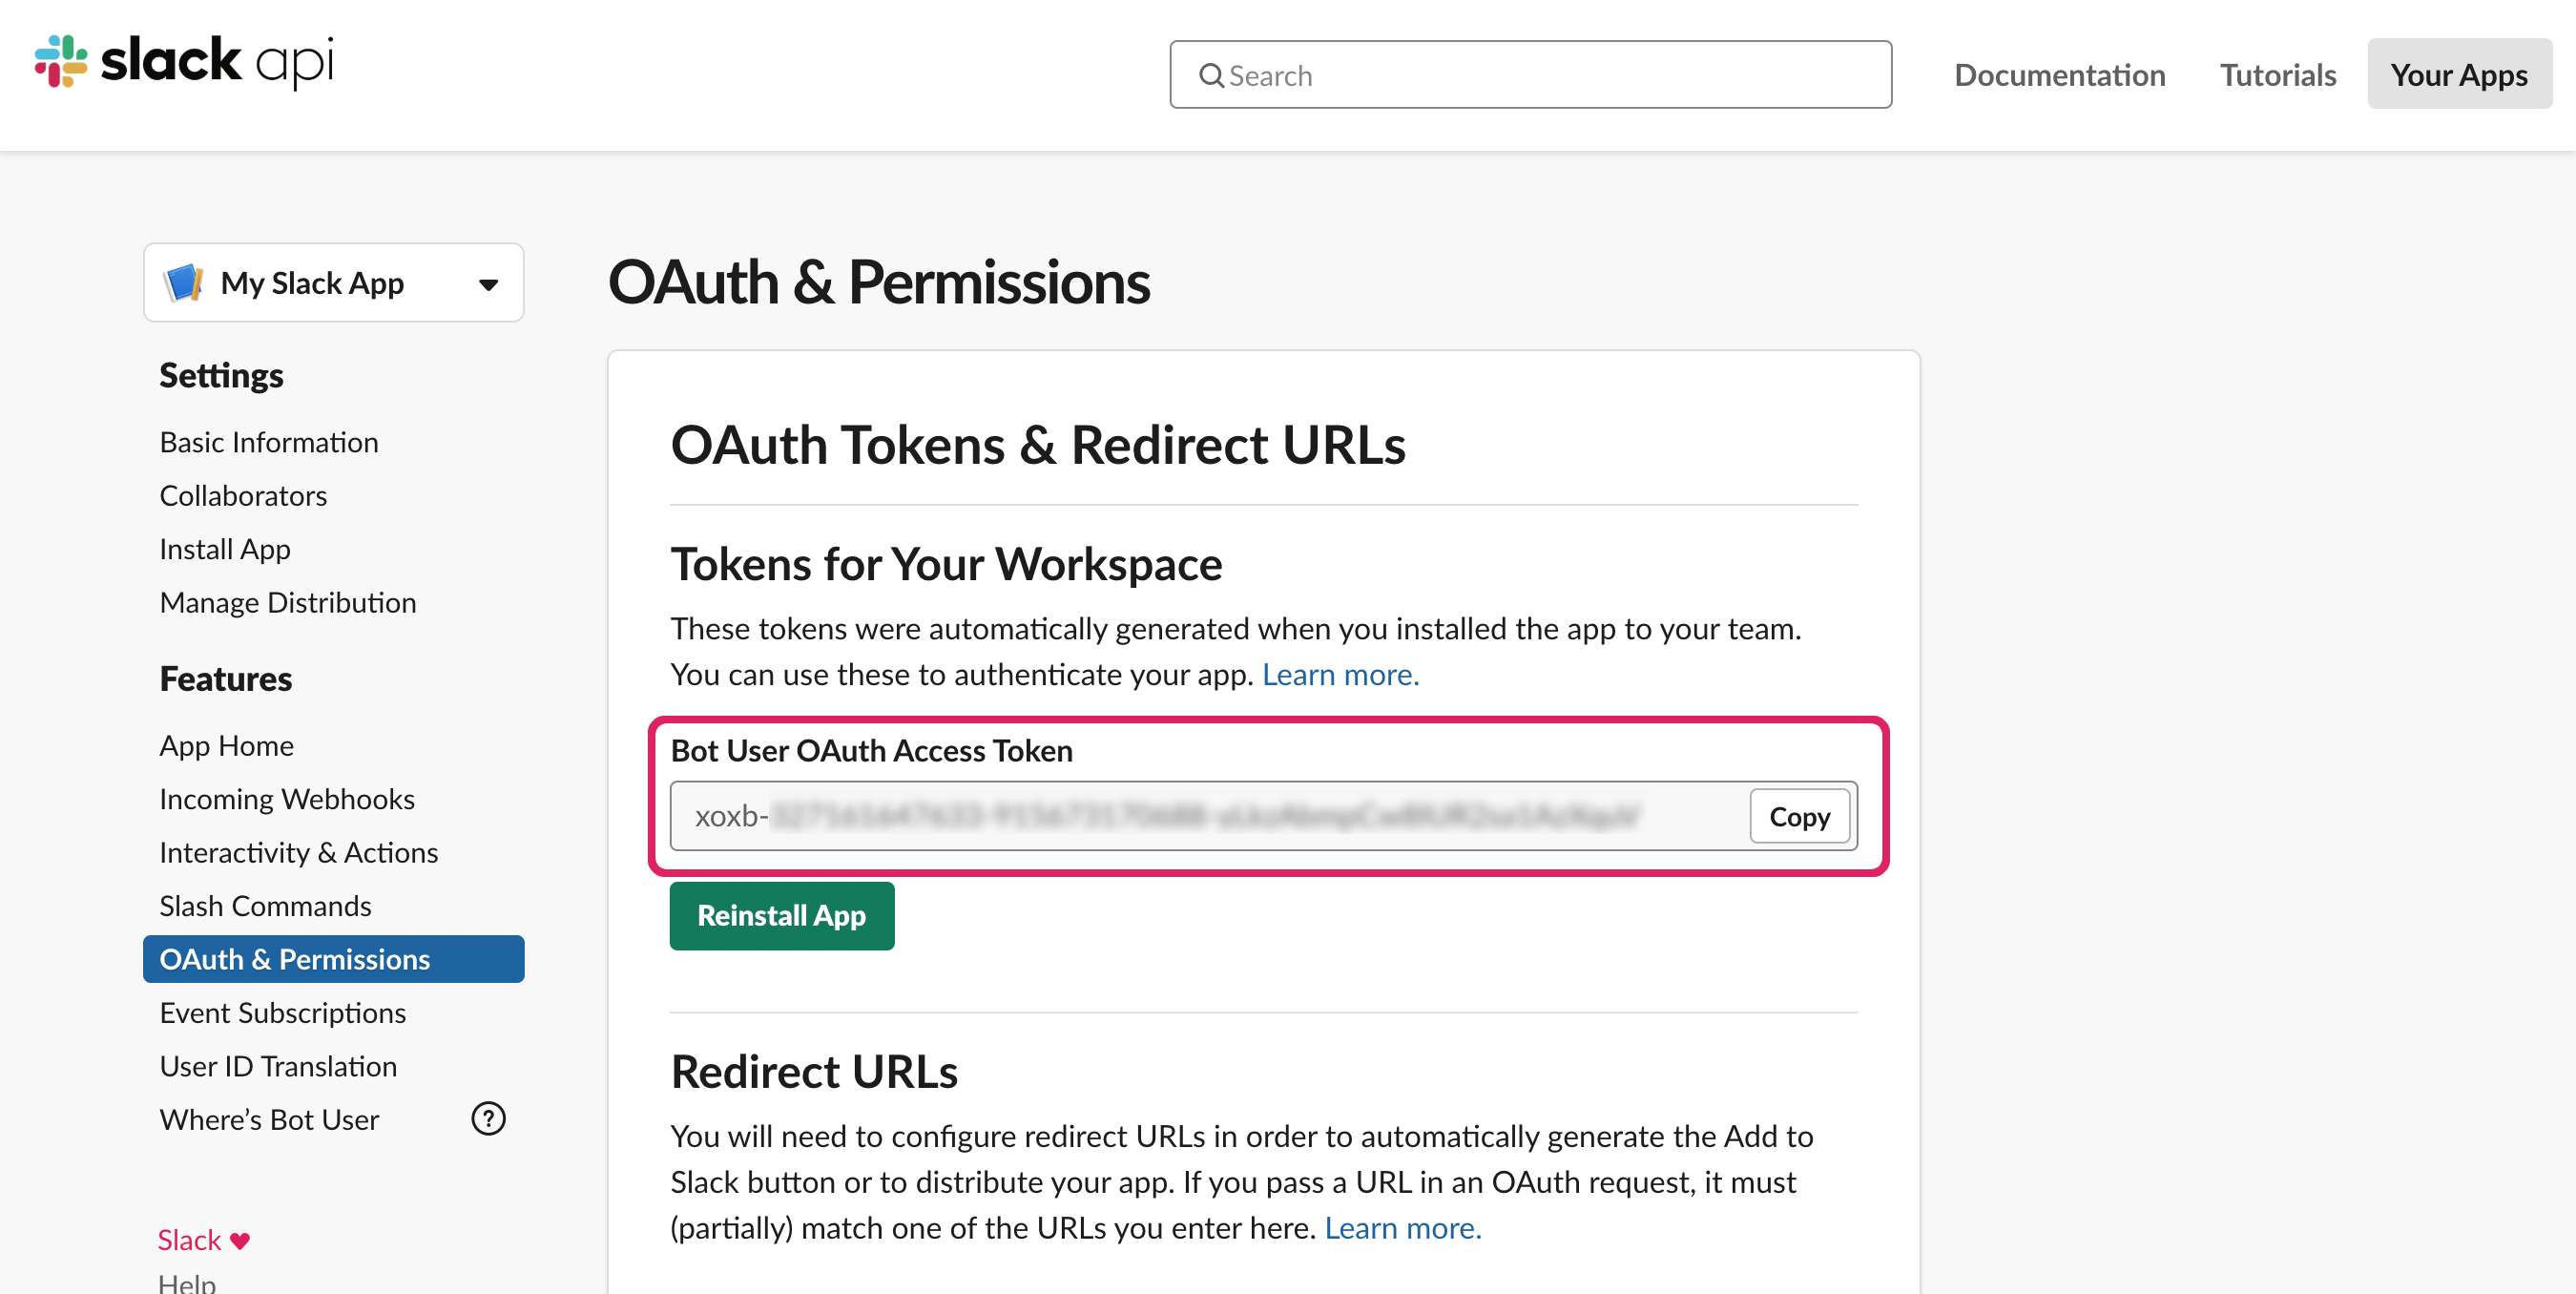
Once you authorize the installation, you’ll land on the OAuth & Permissions page and see a Bot User OAuth Access Token.

Here're the permissions that we'll use in this article: chat:write, im:history and im:read.
You also need to activate the Event Subscriptions feature for your app, and put your webhook URL for slack. Slack will try to send a request with a challenge parameter. You don't need to do anything about this if you're using Slack Bolt, just use the URL your_url.com/slack/events and Bolt will handle it for you.

Create a boilerplate for our Custom Channel Webhook
Once you have created a Slack App we will create the webhook implementation. Here we will use the default framework provided by Slack called `Bolt`, because the language we will use in this article is Python so we will use Bolt for Python.
For starters you can remix this boilerplate page on glitch.com for your boilerplate. Make sure to fill in your bot token and signature inside the .env file.

Handling messages coming from Omnichannel
Every time there's a message sent by Qiscus Omnichannel that message payload will be sent to the URL that we've set before inside the Custom Channel Webhook URL field. You can listen to the payload then reply accordingly using this boilerplate code
@app.route("/webhook", methods=["POST"])
def my_webhook():
  # return handler.handle(request)
  if request.method == 'POST':
    data = request.json
    if data:
    print("Received Data = ", data)
    var = json.dumps(data)
    # call slack bolt Say method to reply
    Say(".....")
  return 'OK'
Handling messages coming from Slack
We can capture messages coming from Slack by using @app.message(). You can check the code inside the glitch boilerplate above. Especially the part shown in the screenshot below.

You need to also call Omnichannel API to send message to custom channel so that the message will be displayed in your Omnichannel Dashboard. You can refer to this page.
